

This tutorial is for the construction of the coaster, the hexi is up to you.
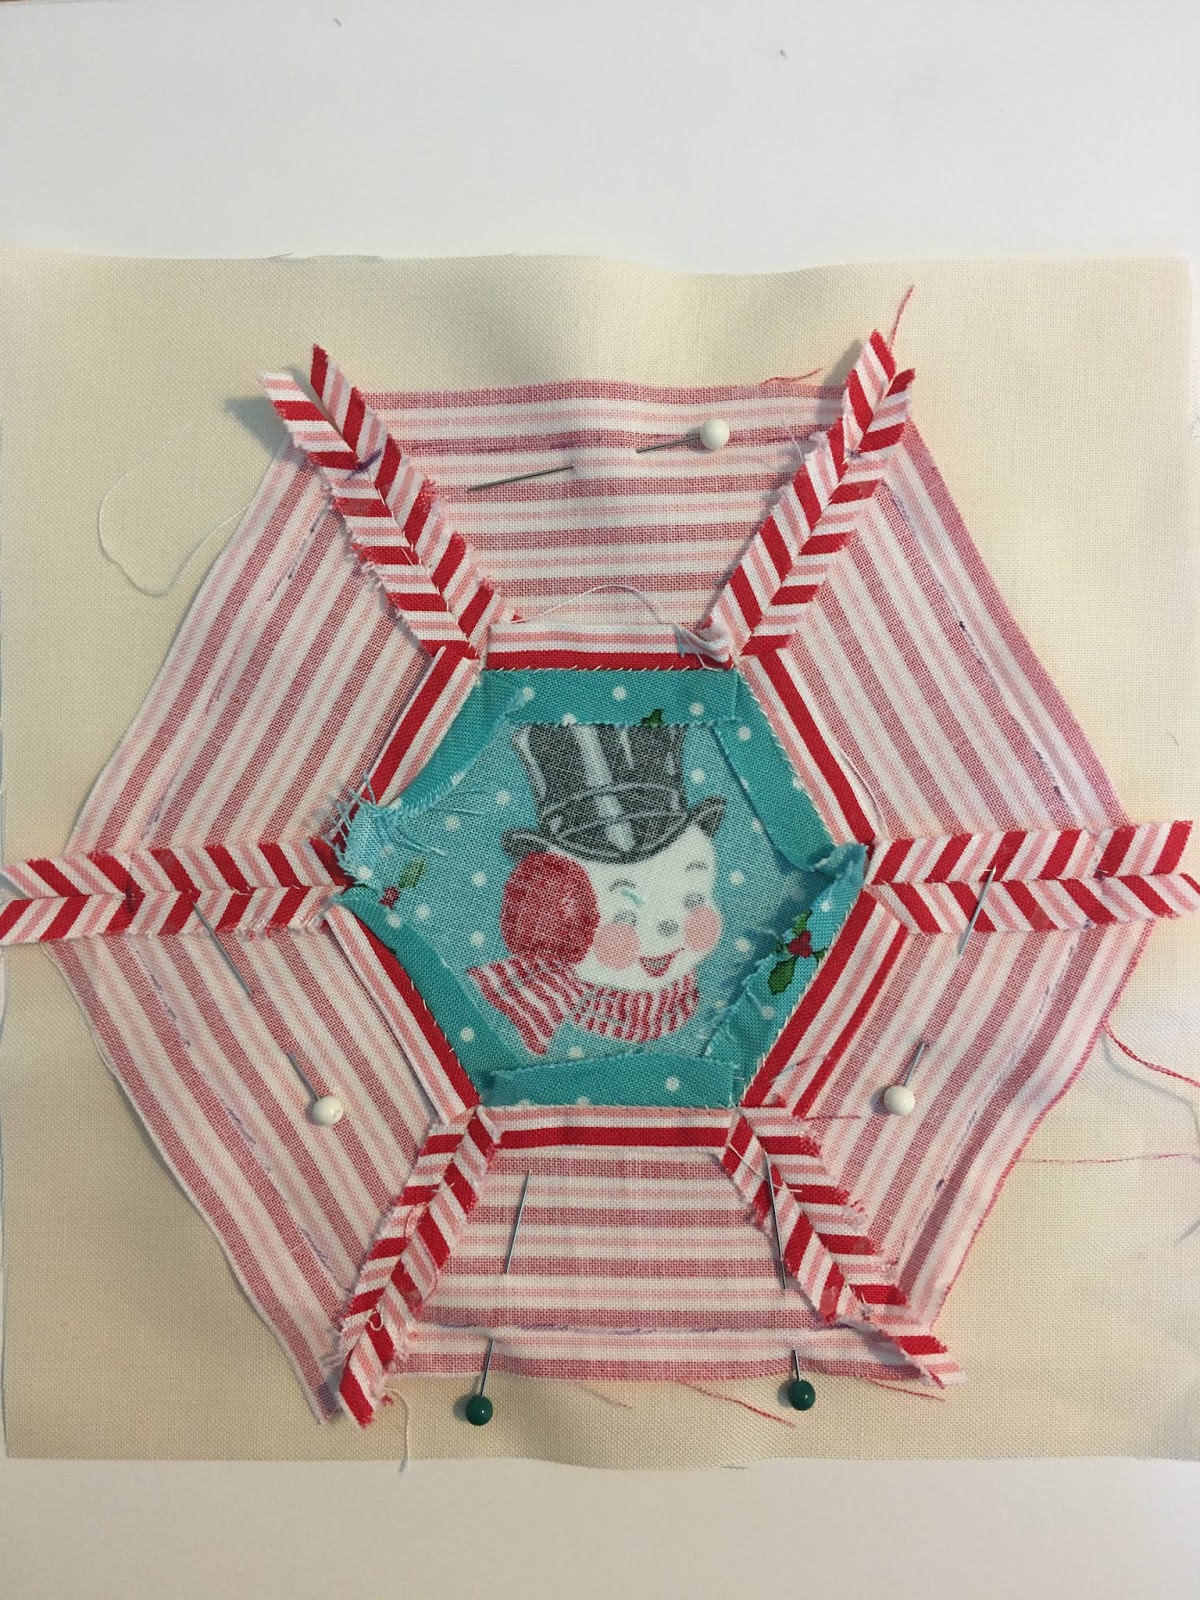
EPP Hexi Coasters are fun easy projects perfect for the beginner, make great gifts, adds character to your table and can be finished in a day. Get some scraps or fabric you have been wanting to fussy cut and make a 3 inch hexi of your choice.
Tip: 3 inch hexi means 3 inch is across one edge of the hexagon. EPP shapes are measured on the sides of the edges, not total measurements width or length.
The hexi pictured is a 1.5 inch hexagon center with 6 1.5 inch half hexagons around.
You will need:
Front of coaster finished.
Backing same size as front of coaster
Sewing machine
Marking pen
Scissors and Thread.

Once you have finished sewing the front of the coaster, take out your papers and iron all the edges out.
Place good side facing down on your backing.

Take a marking pen and mark where the papers ended, making sure to especially mark where the sewing stopped at seems. This will be your sewing line.
Tip: When I get to a seam when sewing like shown above, I reverse once on the marked line and continue sewing.

Pin in place so it doesn't move around when sewing.
You can see the sew line marked
Make sure to mark with pins your start and stop (mine are the dark end pins). You need to make a gap so you can turn the coaster right sides out. Start at one of your pins and end at the other.
Tip: I do a small revers stitch at the beginning and end so nothing comes undone when turning the coaster right side up.

After sewing on your sew line and leaving your turning gap, trim backing if needed to match the coaster front.

Turn inside out. I use a crochet hook that has a rounded bottom to get the corners popped out.

Sew as close to the edge all the way around as you can neatly, this will close the turning gap. Than quilt as desired. I like to simply stitch the seams (stitch in the ditch)
Your Done!
