Sunday, 6 January 2019

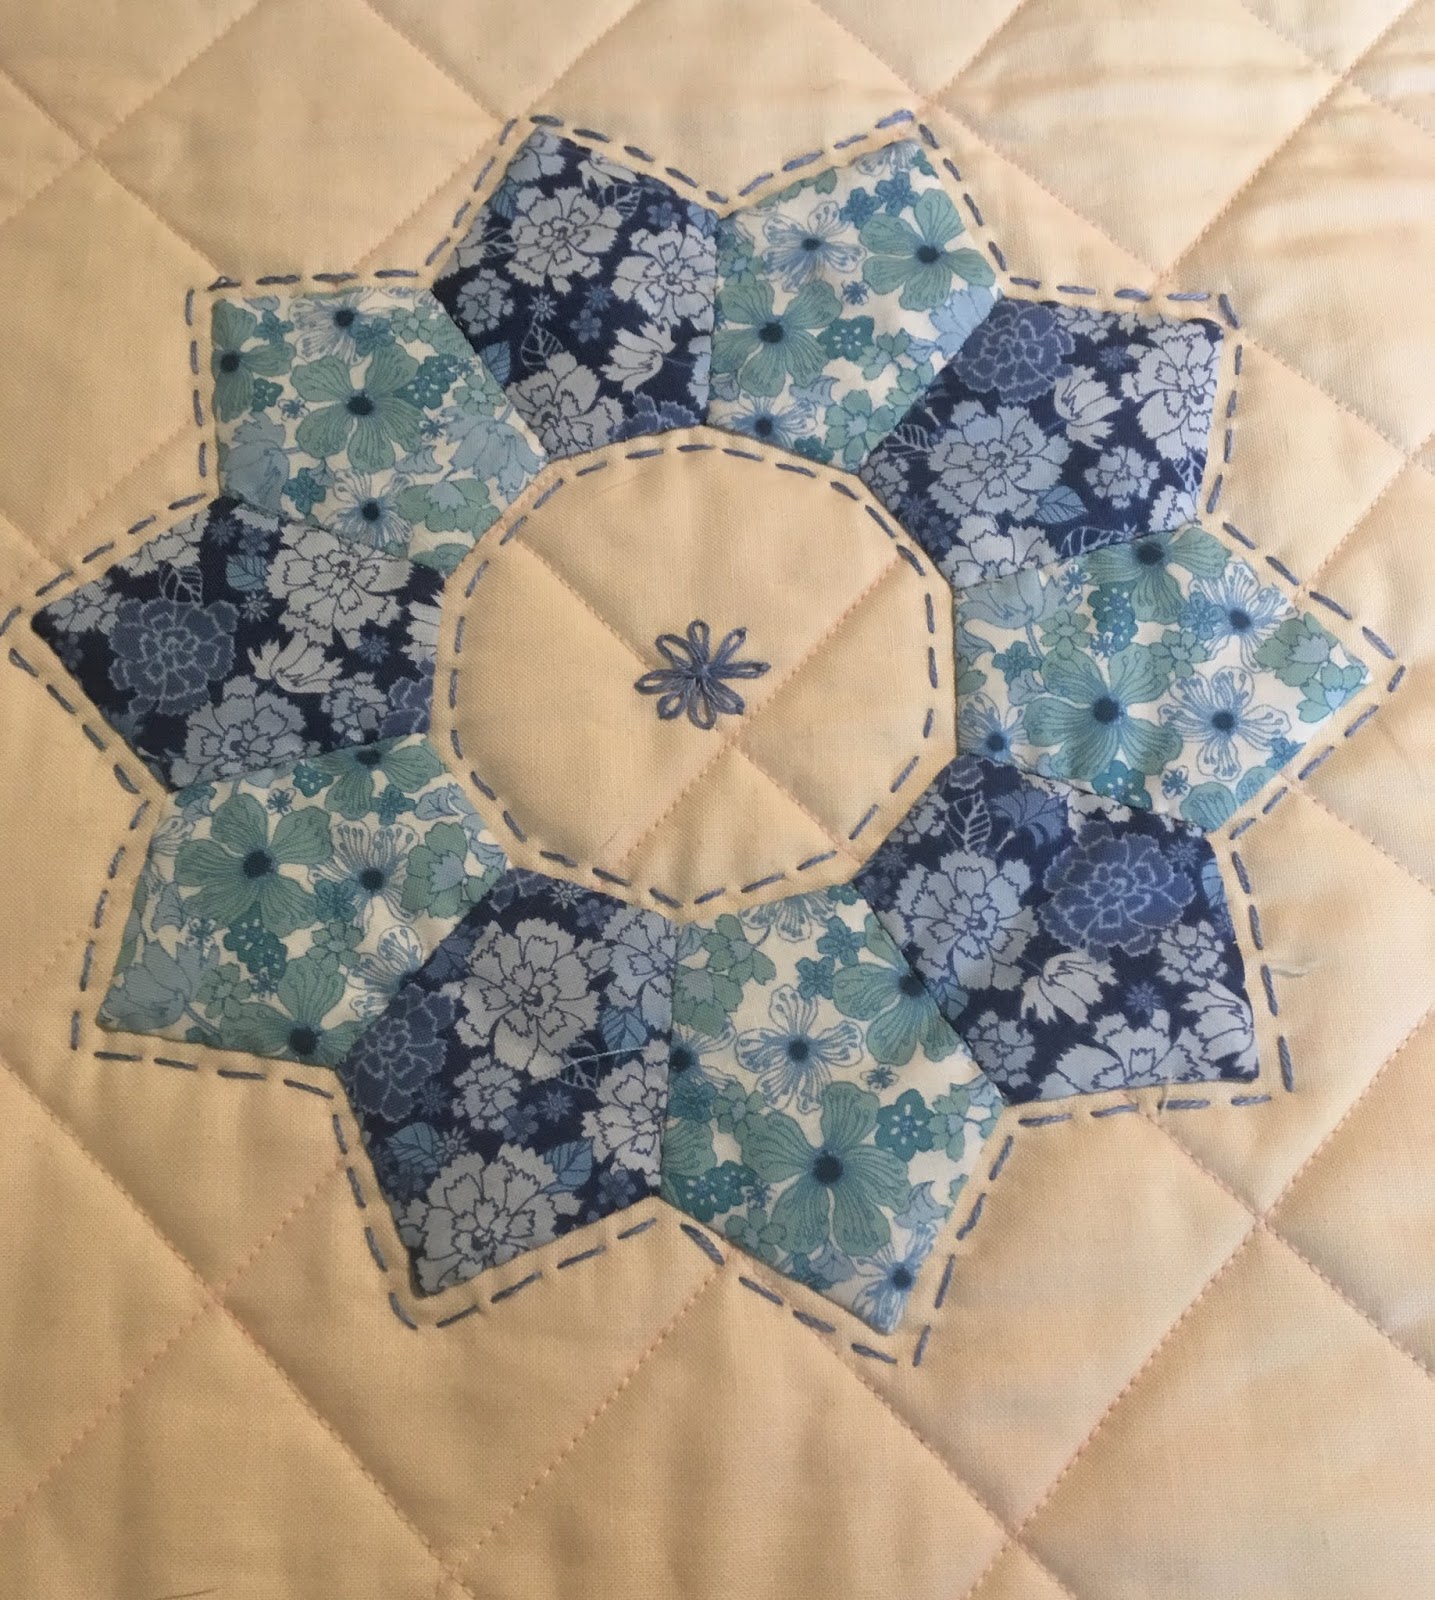
Quatro Flowers


Quatro Mats and Runner

Each flower uses 10 Sue Daley quatro petal papers
I used Garden Delights 11 by Gray Sky Studio
Back ground and backing is Free Spirit solids in Eggshell
I used cotton batting

For the Mats you need:
 2 10.5x10.5 inch squares of eggshell and 1 square batting 
-Sandwich together with right sides facing out and batting in between, quilt. I used diagonal lines
-Cut out, glue and sew together 10 quatro petals in a circle. 
-Press and remove papers. 
-Place on square and use applique glue to take it down. 
-Sew the flower on, I had sew but you can machine stitch. I also added some details with DMC cotton. 
-Clean up the edges and apply binding. 

Done!

For the Runner: 
 2 11x32 inch rectangles of eggshell and 1 of batting 
-Sandwich together with right sides facing out and batting in between, quilt. I used diagonal lines
-Cut out, glue and sew together 10 quatro petals in a circle per flower. I did 3 flowers
-Press and remove papers. 
-Place on quilted runner, center nicely and use applique glue to take it down. I do one flower at a time 
-Sew the flower on, I had sew but you can machine stitch. I also added some details with DMC cotton. 
-Clean up the edges and apply binding. 


Sunday, 2 December 2018

LITTLE FLOWER MAT

This weekends project. English paper pieced hexi flowers and leaves using Sue Daley Papers and Templates. Material is Tilda's Bird Pond Collection


Friday, 9 March 2018

Spring Hexies


We finally got a fabric shop in town. We used to have a fabricland may moons ago, but they really aren’t modern by any means. Oh Look Fabric is not only an awesome name, but Andreas put together and amazing shop.  Modern fabrics, embroidery kits, local made crafts.. it’s a little piece of heaven. 

I picked up an array of spring prints and happily went to work. Lots of Dresden’s and hexagons. This is the first piece. Best thing about English paper piecing is fussy cutting. Picking out all those sweet images and sewing them together.


I made some half hexies to fill in the top and bottom gaps.  Trimmed the sides to make them straight.


 Hand stitched between them all so they would puff out


Sewed to an envelope style back.
Soooooo sweet! 

Sunday, 18 September 2016

Mini Pumpkins


Little Knitted Pumpkins

I loved making these little guys, so easy

3.5mm double pointed needles
Aran/Worsted weight yarn in orange (I used Ella Rae Classic, made 5 mini pumpkins from 1 100g ball)
Small amount of aran/worsted in brown for stem

Notes: (K1M1) All increases worked front and back of stitch
All decreases are worked knit two together


Cast on 3 sts. 
Work in the round
1. K1M1 in each stitch all around. 6 sts.
2. K1, K1M1 around.9 sts
3. K1, K1M1 around. 18 sts
4. K2 K1M1 around. 24 sts
5. K2, K1M1 around. 32 sts
6. K3, K1M1 around. 40sts
7. K4, K1M1 around. 48 sts
8. K5, K1M1 around. 56 sts

Knit around with no increases for 15 rows.
Secure bottom of pumpkin hole  and sew in the end. 

Start decrease:
1. K5, K2tog around. 48 sts
2. K4, K2tog around. 40 sts
3. K3, K2tog around. 32 sts
4. K2, K2tog around. 24 sts
5. K1, K2tog around.  12 sts
6. K2, K2tog around. 9 sts
7. K1, K2tog around. 6 sts

Stuff with batting. leave a long tail to make the segments. 
Join in dark brown and knit 5 rows for stem
last row. K2tog around. 
Cut the dark brown yarn, use the tail to thread through the last 3 sts and darn in ends.

Segments:
using the long orange yarn tail, sew around and pull on yarn to created segments. bring yarn up from the bottom to the stem each time. tie off, weave in end. 


Thursday, 14 July 2016

Simple Bunting


 Simple Bunting


I love bunting. Its not very common here in Canada, but as its so easy to make, I made some for my craft room

Materials:
Ribbon, as long as you want the bunting
Material - What ever you like, I used cotton that came in some charm packs. Charm packs are great as you get a nice variety of material in small amounts 
Pinking Sheers -scissors that make a zigzag cut
Sewing machine and thread colour of choice

Cut material in triangle shapes using the pinking sheers. 
Lay out in your triangles 
Lay ribbon over top and pin in place
Run through your machine. 

If you dont have a machine, you can also use 3 buttons to secure each triangle, one on each end and one in the middle

Tidy your ends -I cut mine on a diagonal using pinking sheers as the in the bottom picture. 

 Enjoy!


Saturday, 26 March 2016

Granny Stripe Blanket and Bunting


Granny Stripe Blanket 

I love this pattern as it is so simple. This is roughly based on Lucys Attic Granny Strip Pattern, however its smaller and uses worsted weight yarn. You can see the blanket and get the yarn at 
Main St Yarns in Milton Ontario :)

I am not the best at writing patterns so I hope this works out for you. 

Worsted Weight Acrylic 6x100 grams balls
5mm Crochet Hook
Darning needle, scissors, safety pin/stitch stopper
Finished Size 34” x 24”
Yarn used: Universal Uptown Worsted. 180y/165m per 100 gram ball. 100% Acrylic
1 ball of each: Periwinkle, Little Boy Blue, Mint Green, Dijon, Pumpkin, Plum
Colour Sequence Used:
Rows 1-4 Periwinkle, *2 pattern rows of each: Little Boy Blue, Mint Green, Dijon, Pumpkin, Plum, Periwinkle* (Repeated 4 times)

Starting the blanket:
Row 1:
Chain 110 Stitches
Row 2:
Starting with second chain stitch from hook, SC. SC in each chain stitch to the end.
Row 3:
Chain 3 (represents first DC) DC one more in the first SC stitch.  *Skip next 2 SC and hook 3 DC in next SC (I call this a cluster)* repeat until 3 sc from end, skip 2 sc and hook 2 DC in last SC
Row 4:
Chain 3. *Hook 3 DC in the gap between DC clusters on row below* Repeat to the last gap. 1 DC in the top of the Chain 3 on the row below.
Continuing pattern:
Row 1:
Join yarn in first DC cluster gap. Chain 3 (represents first DC) DC one more in the same space.  *Hook 3 DC in the gap between DC clusters on row below* Repeat to the last gap. Hook 2 DC in last gap
Row 2:
Chain 3. *Hook 3 DC in the gap between DC clusters on row below* Repeat to the last gap. 1 DC in the top of the Chain 3 on the row below.
 To Finish:
With colour used on last row, Chain 2, SC in top of each DC from last row to the end. Finished!

Tips:
Tuck in ends as you go every few rows
Use a safety pin or stitch stopper when putting project down mid-row
Always attach new yarn / colour at the end of rows.
Each 2 row pattern uses about 16 grams of worsted weight acrylic yarn
First 4 beginning rows and 3 ending rows use about 20 grams worsted weight acrylic yarn
I used 6 colours and made the edges finish with the same colour, you can make the blanket wider by buying an extra ball of the edge colour if using 6 colours. 


Matching Bunting using left overs 


I made this as there was left overs of all the coulours except periwinkle as it was used for the ends. 

Triangle Bunting:
Each triangle uses 13 grams of worsted acrylic yarn
5mm hook

Chain 32
Row 1: Skip 2 chains from hook, 1 SC in each chain to end (30 SC’s made)
Row 2: CH3, *skip 2 SC from first row, work 3 DC in top of next SC from previous row, 1 cluster made*. Repeat 7 times. 1 DC into top of last SC
Row 3: CH3, 3DC in first gap between DC clusters of previous row. Repeat 6 times, 1 DC in last gap
Row 4: CH3, 3DC in first gap between DC clusters of previous row. Repeat 5 times, 1 DC in last gap
Row 5: CH3, 3DC in first gap between DC clusters of previous row. Repeat 4 times, 1 DC in last gap
Row 6: CH3, 3DC in first gap between DC clusters of previous row. Repeat 3 times, 1 DC in last gap
Row 7: CH3, 3DC in first gap between DC clusters of previous row. Repeat 2 times, 1 DC in last gap
Row 8: CH3, 3DC in first gap between DC clusters of previous row, 1 DC in last gap

You can block them by ironing under a damp towel
To string triangles together, chain a few stitches * SC across the top of the first triangle, chain desired length between the next triangle* repeat across all triangles, chain a few sts. End.
Decorate with buttons, embroidery, beads, crochet/knit flowers etc.

Simple Crochet Flower:
Worsted weight acrylic
5mm hook
Chain 5. Slip stitch into first chain to form a ring.
Row 1: CH 1, 10 SC in ring. Slip stitch into first SC
Row 2: In the top of a SC begin the flower peddles. All stitches are worked into the top of 1 SC, 1 ch, SC1, HDC1, DC2, HDC1, SC1 (1 peddle made). 1 SC in next SC from previous row. *SC1, HDC1, DC2, HDC1, SC1. 1 SC in next SC from previous row * Repeat 4 times. Slip stitch into top of first SC. Finished. 

Sunday, 20 March 2016

Black Silky Scarf


Black Silky Scarf
1.5 balls of Elsbeth Lavold Silky Wool
4mm Hook
Finished Length without scallops 60 inches by 5.5 inches

Chain 32
Row 1: In second chain from hook, Sc in each Ch to end. Turn
Row 2: Ch1 (not counted as a stitch) SC into same stitch, *ch 2, skip 2 sts, sc into next st.* rep to end. Turn
Row 3: Ch 3 (counts as first DC), DC into same st. *Skip ch2 sp of previous row, 3 DC into top of sc in previous row* rep 8 times, skip next 2 ch2 sp, 2 dc into top of last st. turn
Row 4: Ch1 (not counted as first st), sc into same st *ch2, sc into center st of 3 dc in previous row* to end. Turn
Repeat Rows 3 and 4 to desired length. Finish with a row of sc along all stitches to make a straight edge. You can put a scalloped edge on the ends


Also made in Rowan Felted Tweed
1.5 Skeins