Monday, 31 May 2021

Scrappy Table Mat


I love making these, they use up scraps and make the table pretty. 
I make them in all kinds of sizes, really what fits the scrap blocks or pieces I'm using 
I used them for small serving mats (under chip bowls etc) I put plants on them, picture, basically I used them where I want to protect a table, shelf etc. 
I don't use batting in mine unless its something I want to use to put a hot pot on. 

You need scrap blocks and a binding an inch larger on all sides 

Make your patchy top piece. 
Place in the center of the backing (backing wrong side up)
Pin and quilt. I usually follow grid lines, but do what you like. Leave the corners unsewn and only sew on the top piece. 


Trim the sides if you need to. Make sure there is 1 inch on each side.


Tuck the corners of the backing under the front like shown below


Fold the backing in half until it meets the edge of the front. You can use clips or iron if you want.


Fold the backing in half again, this time onto the front. The corners should be nicely mitered. 
Hand or machine stich. 


 Enjoy!

Sunday, 14 March 2021

Cutting into a Fat Quarter Bundle


These are lovely colorful 1930s print fat quarters called Darlene's Favorites. (Designer: Darlene Zimmerman, Manufacture: Robert Kaufmann)
You can make a quilt from a fat quarter bungle (FQB) or just have an amazing selection of prints from a collection in a convenient size for patchwork, English Paper Piecing, sewing small projects etc. 
The question is.. how to cut into it.. its so pretty, one almost feels bad cutting it... I do strips

I do a lot of patchwork and EPP, I usually end up using 1.5, 2.5 and 3.5 wide pieces the most. So I take my lovely FQB and cut a 2.5 and 3.5 strip of each one, iron it and put the rest of the bundle away. if I need a 1.5 inch wide piece I cut from the 3.5 strip.. that leaves a still use able 2 inch piece.. I have a thing about making as much use from fabric as possible lol!. 

Some EPP shapes that fit these.. 3 inch Triangles and Diamond and smaller can be cut from a 2.5 inch wide strip, 1.5 inch Hexagons can be made with 3.5 inch squares, lots of uses and variety. Especially when you are using small amounts but want lots of print selection. 


Happy Sewing!


Sunday, 14 February 2021

TriPatch Pot Holder


 EPP triangles, some pretty scraps and Voila! Pretty pot holder!


I used the following:
60 x  2 inch triangle papers by Sue Daley Designs
2 inch Sue Daley acrylic template (optional)
Glue Pen
Assorted 2.5 inch scraps
Needle, thread, scissors. 
Batting: 11x11
Backing: 13x13 square

Start by taking 6 of your triangle papers and cut in half  for the edge pieces. Make sure you have 6 in one direction and 6 in the opposite direction. Cut your fabric at least 1/4 inch larger, cut out and glue baste or stitch baste if you prefer to the papers.


Using the 54 triangle papers, cut our fabric triangles at least 1/4 inch larger all the way around. Glue or stitch baste to the papers. 


Collect all your sewing supplies


Arrange them how you want it to look. 9 triangles & 2 edges per row. 


I like to sew these in rows, then sew the rows onto each other. 


Isn't it pretty!


Remove all the papers. I find a 4mm knitting needle helps. If stitch basting remove the basting stitches.


Once all the papers are out, press really well, making sure to press the sides the way they were folded for a nice edge


Place pressed top on the batting. Quilt as desired. I stitched long the diagonal lines. 
Trim the excess batting. 


Place backing wrong side up on your table. Center the top on the backing and trim to have 1 inch of backing all the way around. 
I pin the edges of the patchwork so it stays in place for the next part. 


Press the backing in half towards the front piece all the way around. 
Fold it again, this time onto the patchwork front. Clip or pin in place. 


You can machine or hand stitch the folded binding edges, I prefer hand stitching. 


To finish, I quilted the row of triangles and around the edges of the binding so it was all quilted together. 

Finished!!!!!!!!!!!!!!!


If you would rather sew this by machine, use a 60 degree triangle ruler and machine stitch them together

I used various prints I had in stash from Darlene's Favorites by Darlene Zimmerman, Robert Kaufmann Fabrics for the front. Back is medium dots by RJR. 

Check out www.victorystitches.com for EPP papers, notions and fabrics 

This pattern was written by me, Vall for victory stitches. It can be used for personal use or if you want to sell the finished item. Do not copy my tutorial for print or resale. If making or sharing this pattern, please do the right thing and give credit. Thanks, Vall. 


Sunday, 10 May 2020

Vintage Granny Stripe Blanket


Vintage inspired throw to brighten a couch, chair, bed or caravan.


This version measures 40 inches wide and can be as long as you like. 

Hook: 4mm 

 Yarn:  DK acrylic yarn (Stylecraft Special DK)

Each row needs 6 grams. Find all your bits, get postal or kitchen scale and weight your scraps

Tip 1:  Every few rows weaving in your ends so you can finish as you go. 

Tip 2: to make any other size, simply chain as long or short as you wish and do the first row of DC clusters. Before you start the second row, weigh the ball your working from, finish the row and weigh again. This will tell you how many grams of your yarn will cover 1 row. 


Chain 131 stitches loosely


Foundation Row:
Make 3 DCs (1 cluster) in the 5th chain from the end. This is 1 beginning link for the next row and your first cluster. Skip 2 chains and make a cluster in the 3rd chain. Repeat to the end.


Make 1 DC in the last chain. Leaving a tail, cut yarn. 


Row 1:
I like to work each row right to left so the clusters all have the same look. 
So go back to the beginning and in the 5 chain link you created on the row below, add new color and chain 3, make 2 DC. This will make your first cluster.  Make a 3 DC cluster in each space all the way across to the end. 


Make your last 3 DC cluster in the ending link, leaving a tail cut yarn. 


Row 2:
Insert hook into the top of the first DC on the last row. 


Join in your new color and chain 5 (link created)


Make 3 DC cluster all the want to the end.


Make a link, make 1 DC into the top of the last DC on the previous row. Leave a tail and cut.

Repeat rows 1 and 2 until desired length. Make a row of SC to finish it off. 


Patchwork Wash Mat


So simple and so practical

Mine was 12 inch x 16 inch
12 squares cut 4.5x4.5 inches
1 piece of old towel cut 13x17 inches

Arrange squares in a pleasing pattern in 3 rows of 4

Sew the rows of 4 together

Sew those rows together

Give a good iron. 

Lay down the towel, place the patchwork good side down on the towel. 

Use lots of pins and pin around, the towel will like to slide around so plenty of pins helps. Make sure to mark a 4 inch turning gap. This gap you will leave un-sewn.

Start sewing at one turning gap marker, sew all the way around to the other gap marker. Make sure to reverse stitch at the beginning and end. 

Clip corners and turn right side out. 

Make the corners look good and give it a good iron. Make sure to iron the turning gap so it folds nicely. 

Top stitches all the way around. If the corners are too bulky, skip the corners and just sew down each edge. 

Sew a top stitch along the center of the patchwork to secure both sides of the project together.

Finished!


Saturday, 25 January 2020

EPP Coaster Tutorial


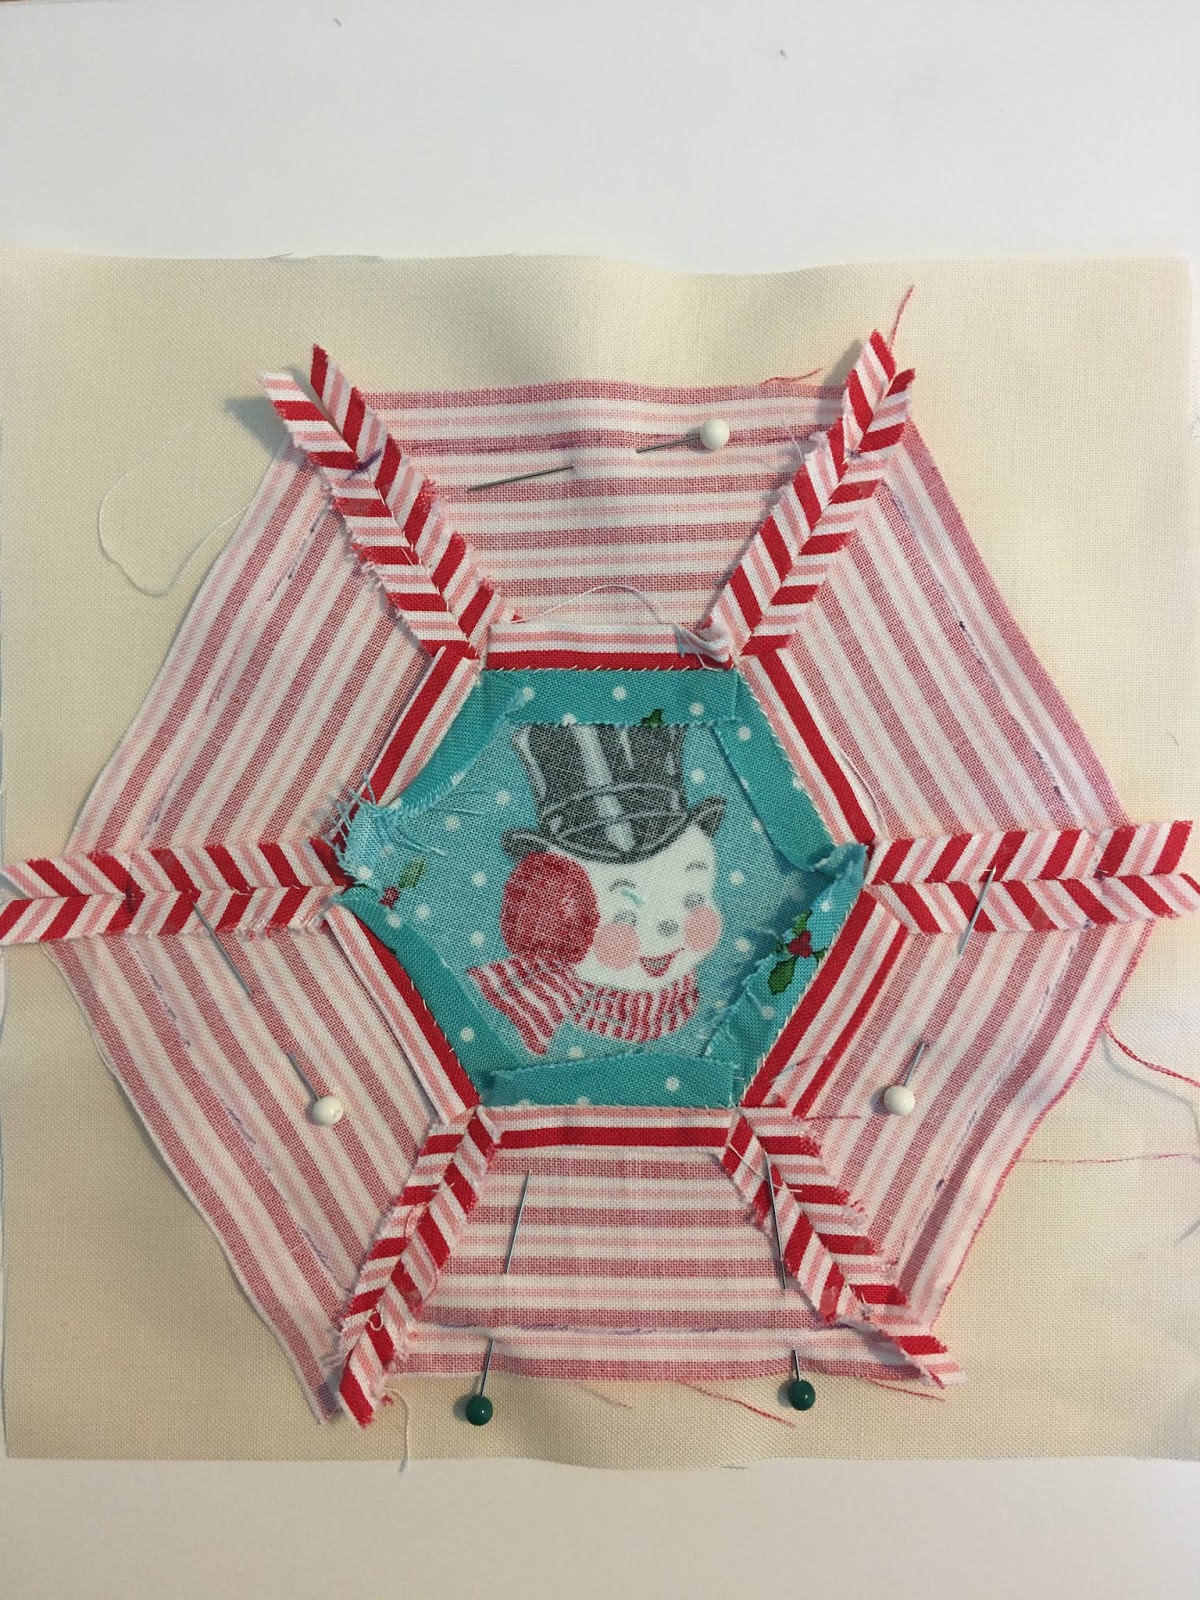
This tutorial is for the construction of the coaster, the hexi is up to you. 

EPP Hexi Coasters are fun easy projects perfect for the beginner, make great gifts, adds character to your table and can be finished in a day. Get some scraps or fabric you have been wanting to fussy cut  and make a 3 inch hexi of your choice. 
Tip: 3 inch hexi means 3 inch is across one edge of the hexagon. EPP shapes are measured on the sides of the edges, not total measurements width or length. 
The hexi pictured is a 1.5 inch hexagon center with 6 1.5 inch half hexagons around.
You will need:
Front of coaster finished.
Backing same size as front of coaster
Sewing machine 
Marking pen
Scissors and Thread. 
Once you have finished sewing the front of the coaster, take out your papers and iron all the edges out. 
Place good side facing down on your backing.


Take a marking pen and mark where the papers ended, making sure to especially mark where the sewing stopped at seems. This will be your sewing line. 
Tip: When I get to a seam when sewing like shown above, I reverse once on the marked line and continue sewing.
Pin in place so it doesn't move around when sewing. 
You can see the sew line marked  

Make sure to mark with pins your start and stop (mine are the dark end pins). You need to make a gap so you can turn the coaster right sides out. Start at one of your pins and end at the other. 
Tip: I do a small revers stitch at the beginning and end so nothing comes undone when turning the coaster right side up. 


After sewing on your sew line and leaving your turning gap, trim backing if needed to match the coaster front. 

Turn inside out. I use a crochet hook that has a rounded bottom to get the corners popped out.

Sew as close to the edge all the way around as you can neatly, this will close the turning gap. Than quilt as desired. I like to simply stitch the seams (stitch in the ditch)

Your Done!


Sunday, 1 December 2019

Simple Gift Bag


Gift cards can be boring but useful gifts, I wanted something to make it look a bit nicer. Here is a simple bag pattern you can put the gift card in along with a few goodies :)

Material cut 10 inch x 7 inch (or any size you want)
Tie: Ribbon, string or strip of salvage or material
Sewing machine & Thread
Serger if you have one can come in handy too. 


Cur your fabric out. Place right sides together and either serge the sides and bottom or simply sew with sewing machine. Leave the top open. 

Sewn!

Fold the top over about a 1/4 inch and iron


Fold and iron again. 

Flip right sides out.


sew around close to the folded edge and your done!

Happy Holidays!